Install Slider to Theme
In this article you will learn how to install and place the slider from the preview into your store or template.
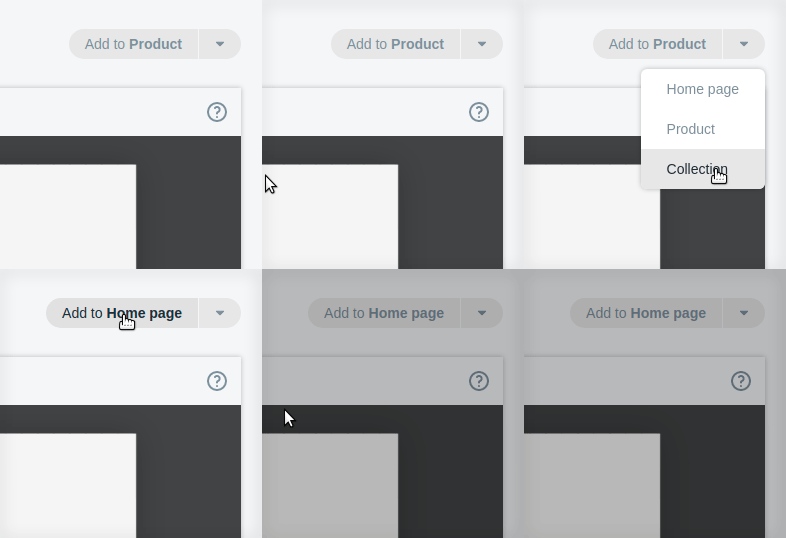
After you have successfully created a slider in the Preview or Visual Designer and clicked on the Save button, a pop-up appears explaining the following steps. After you close this pop-up, you are in the update view. At the top right there is now a dropdown menu where you can assign the slider to a template of your theme.
Here you must first select the template to which you want to add the slider and then confirm by clicking on the button.
You currently have the choice between the three templates:
- Home Page
- Product (Will be added for all product templates, both for the default product template and for sub templates like self created product templates)
- Collection (Will be added for all collection templates, both for the default collection template and for sub templates like self created collection templates)
- Code Snippet (In addition, there is always the possibility to insert the slider into your store or template via a code snippet)

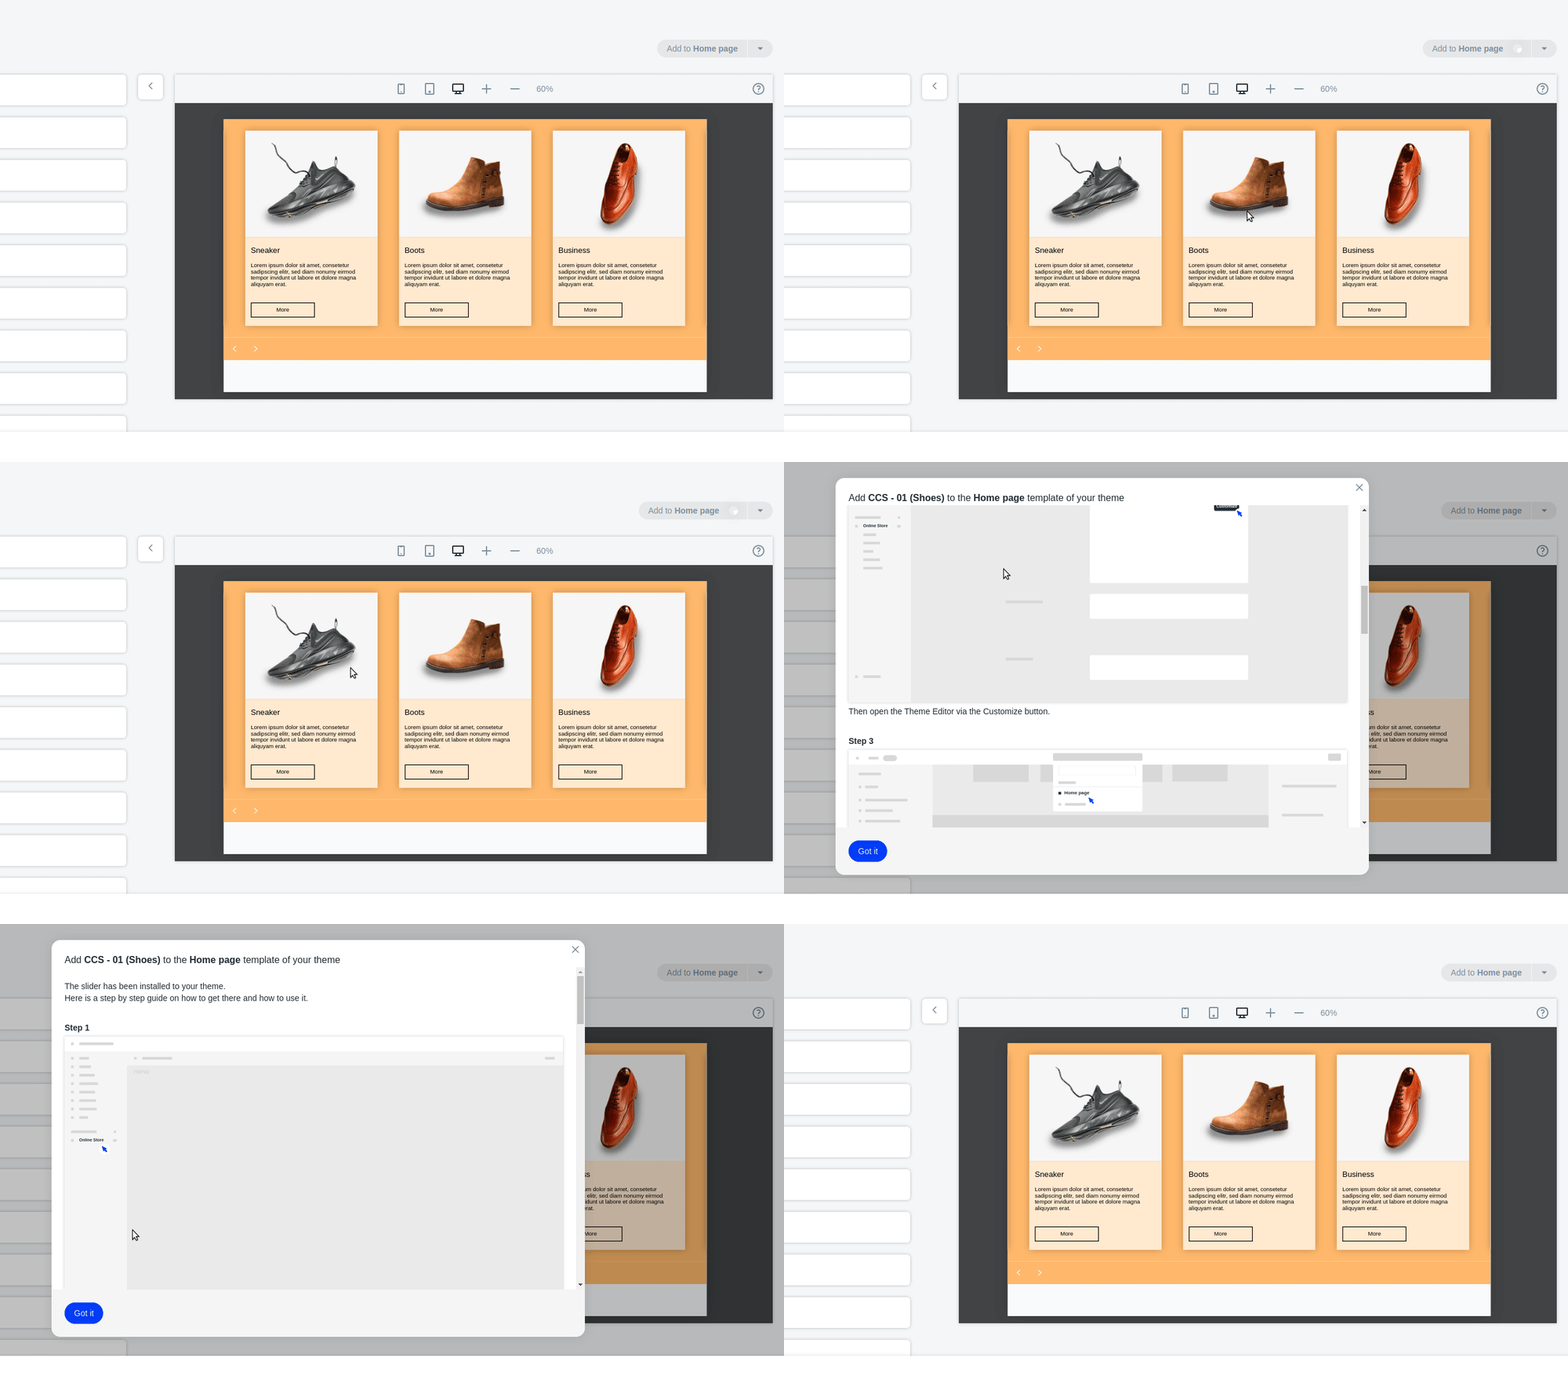
After you have confirmed your template selection, our software checks in the background what is the best way to integrate the slider into your template and then displays it in a pop-up with a step-by-step explanation. The way of integration depends on which theme you use and which template you choose. So it can be that the integration is different from theme to theme and even from template to template.
In general, there are three ways to integrate the slider:
- App Blocks (Via Shopify Theme Editor)
- Sections (Via Shopify Theme Editor)
- Inserting a code snippet

If you want to see more about the individual integrations, navigate to the subpages:
Install via App Blocks
Install via Sections
Install via Code Snippet