Transfer to Storefront
After you have successfully created your Look, we will now show you how to place it within the storefront and present it to your customers. Looks can be added to the product page within the storefront. For this purpose, one widget is available which can be placed through the Shopify Theme Editor:
Looks (Product page)
Open Product template
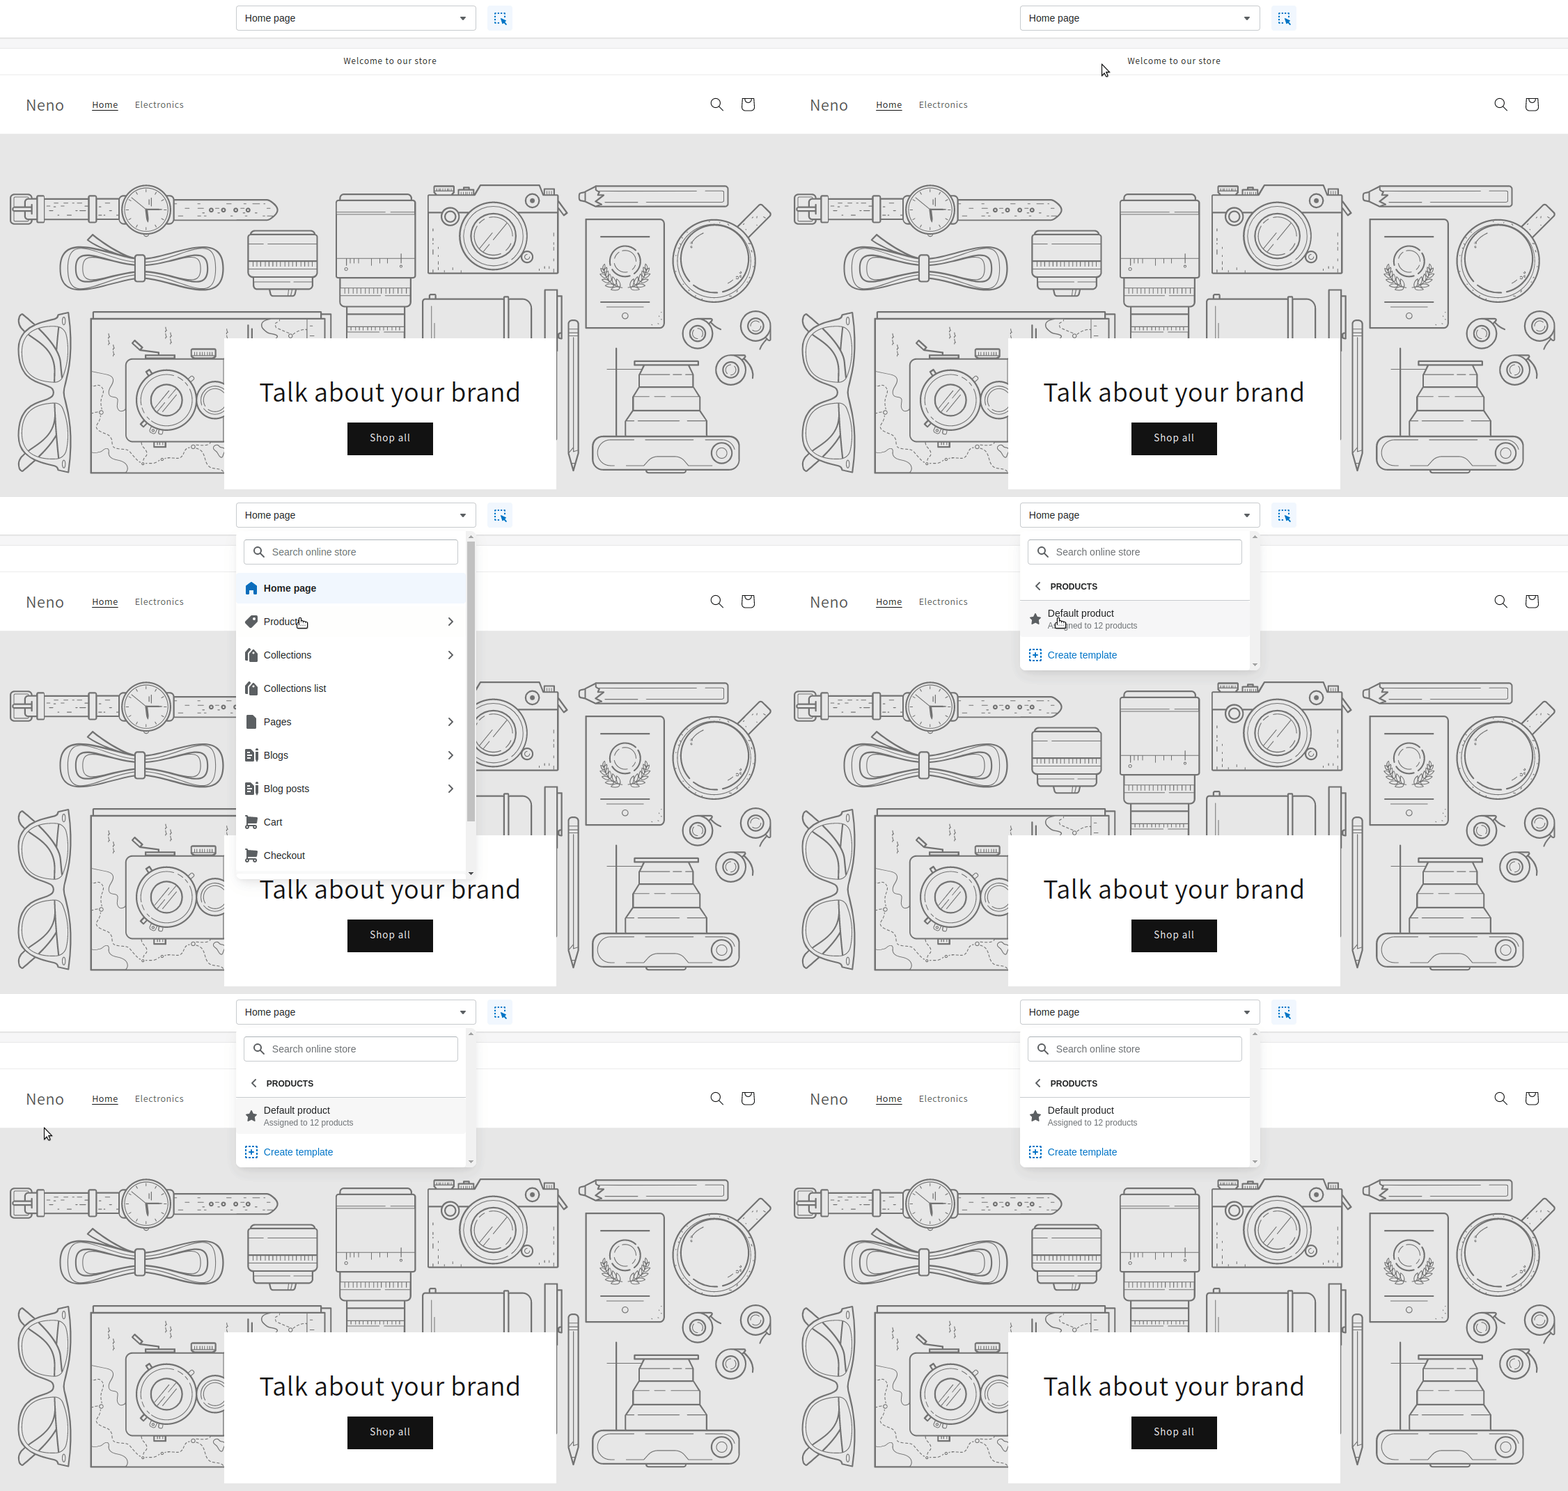
Open the Shopify Theme Editor and select the Product Template. Of course you can also use any custom product template.

Add Looks Widget
After you have selected the product template, you will see the edit view of the template.

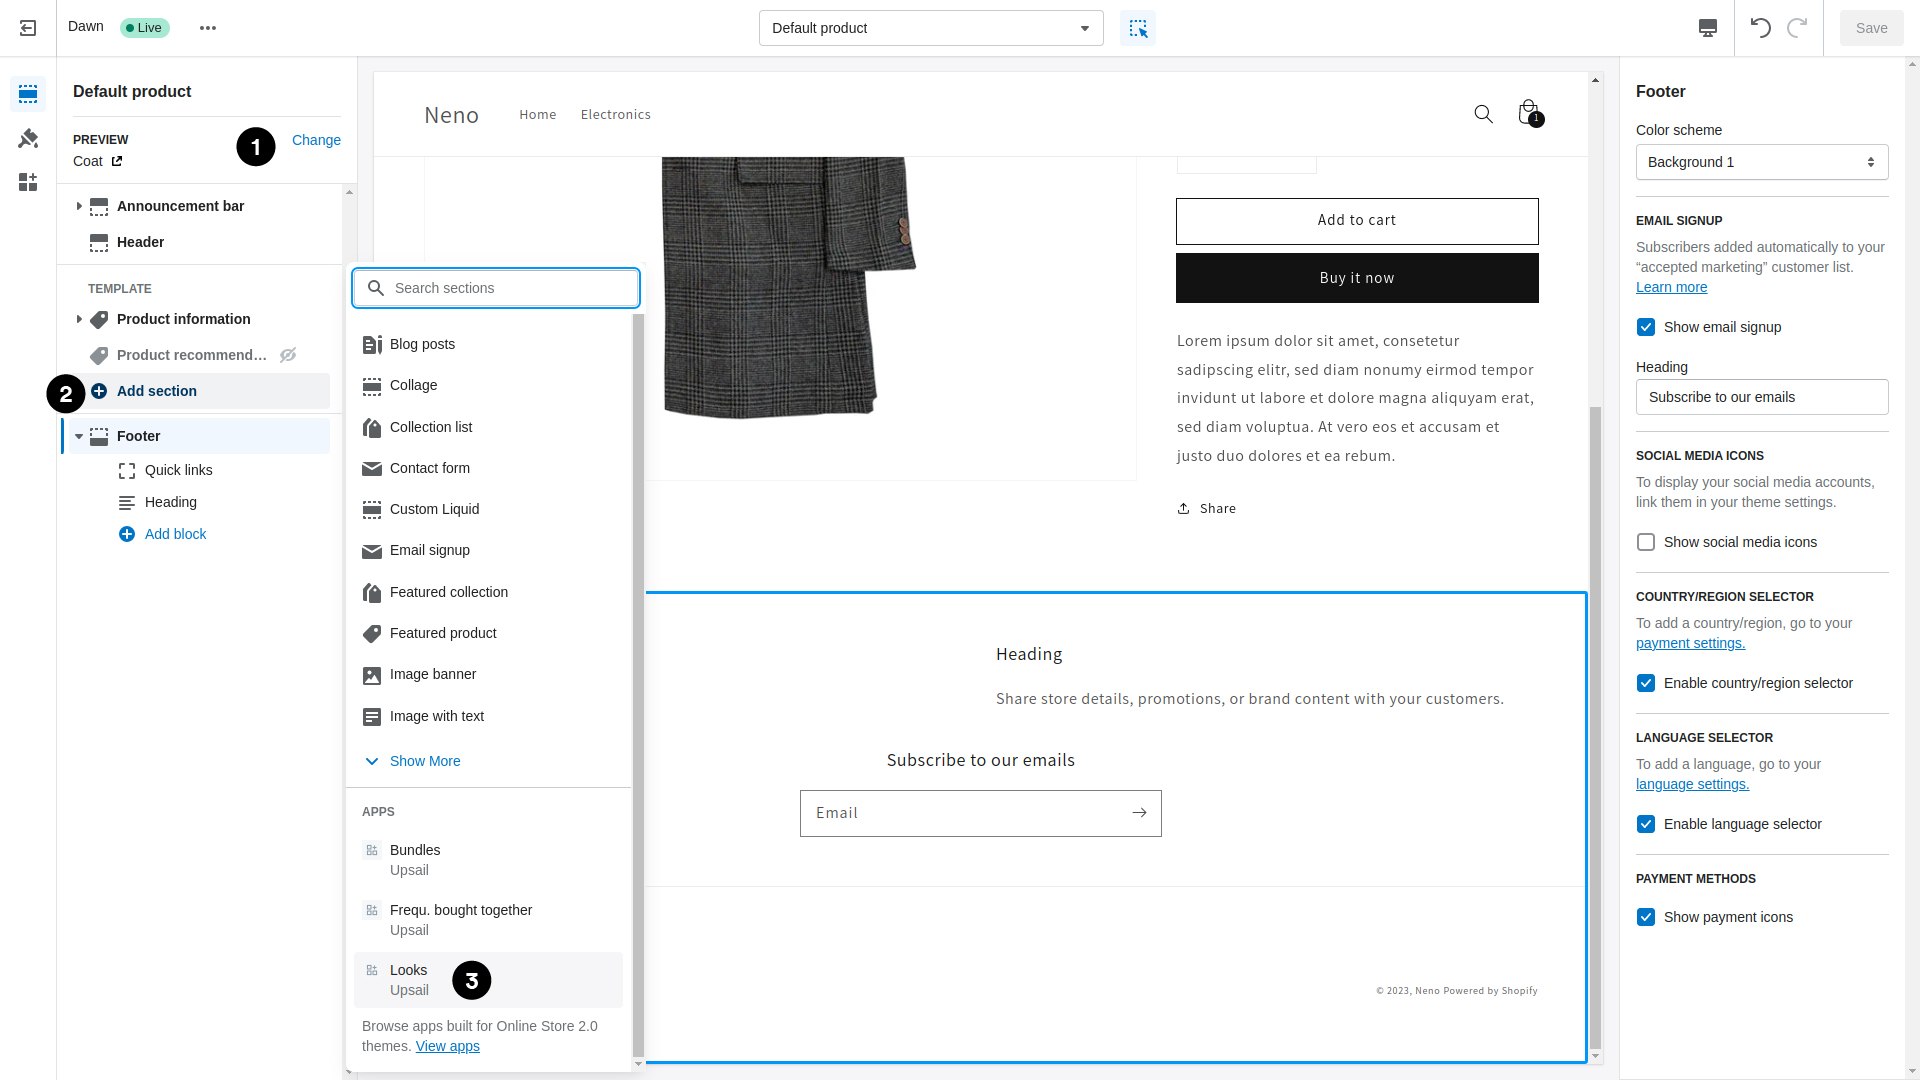
1. Choose the Entrypoint product
To see the corresponding Look within the widget in the Theme Editor, you should select the product marked as Entrypoint. Finally, the Look is only displayed when you open this product. Of course, you can also place the widget without having selected the appropriate product beforehand.
2. Add Section
Now add a new section.
3. Add Looks Widget
Now select the Looks widget to place it inside your storefront.
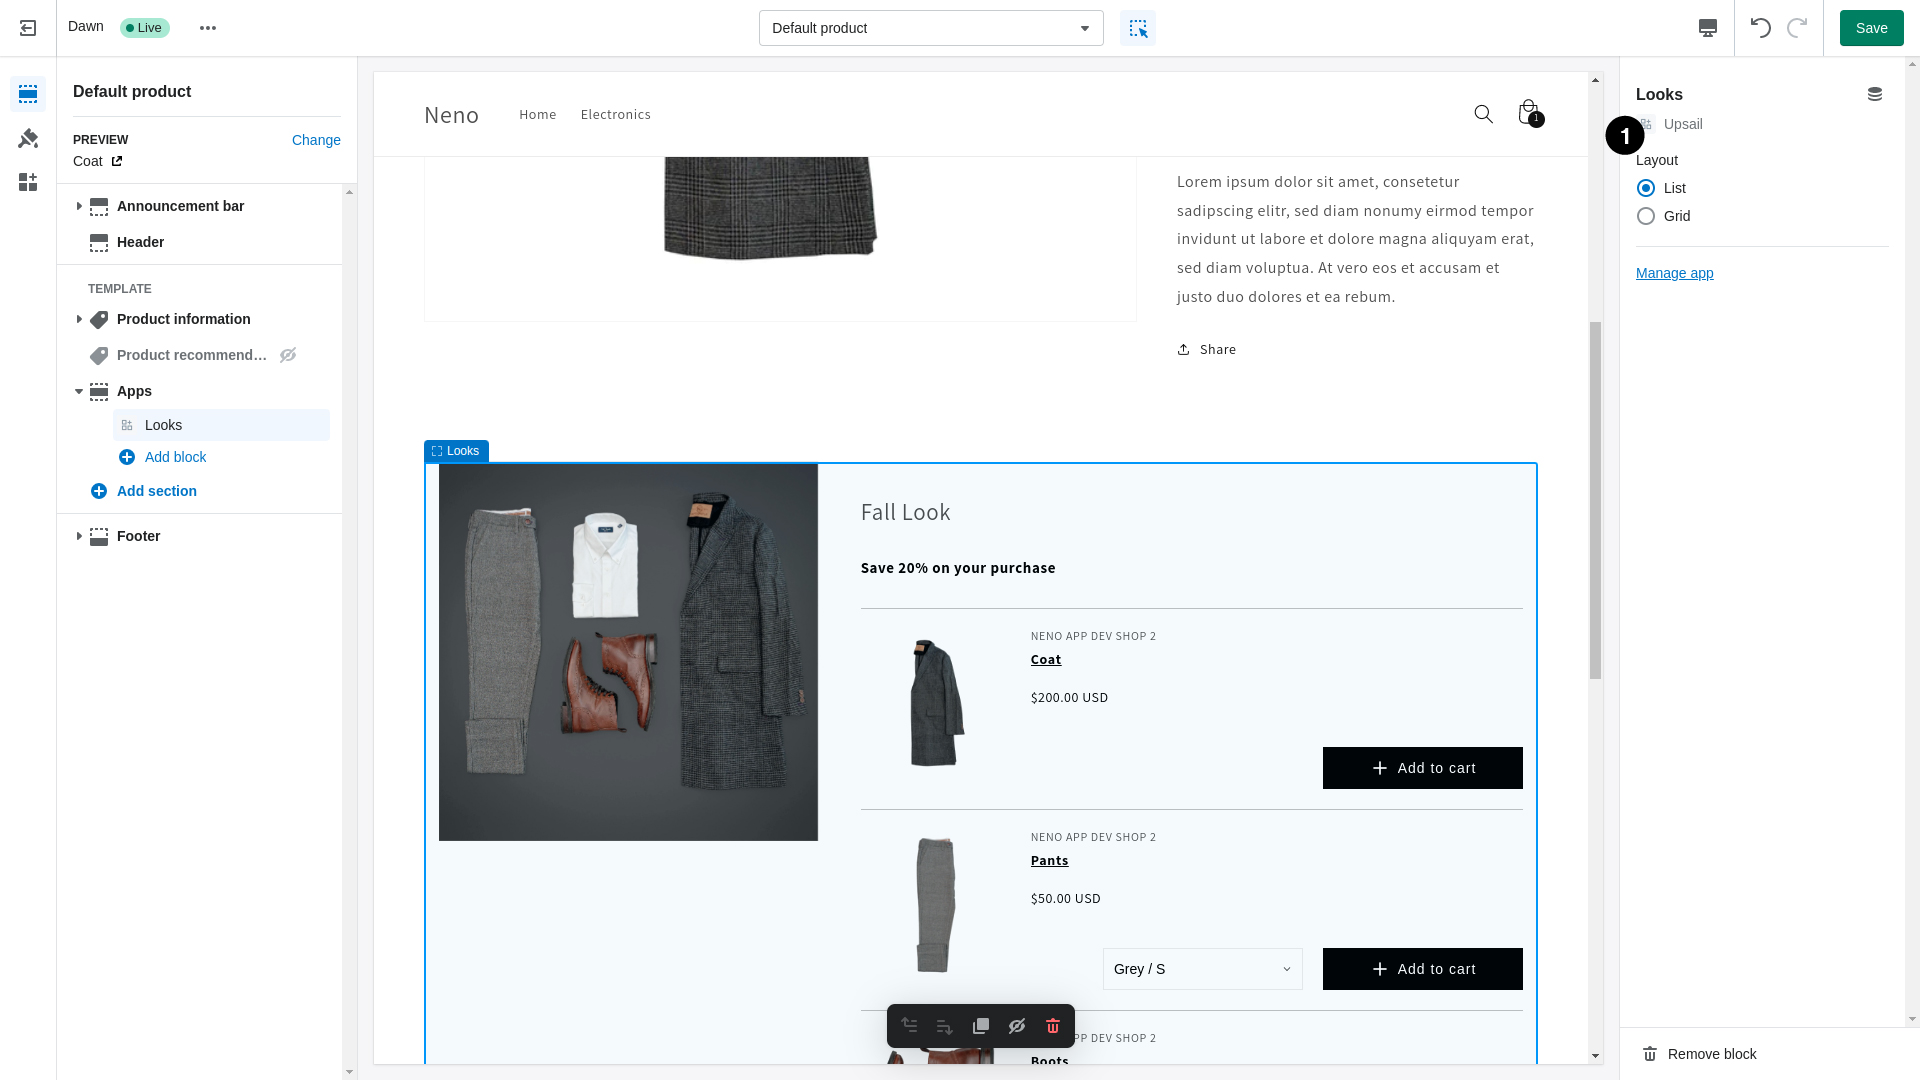
Widget successfully added
Now you have successfully added the Looks widget to the storefront. Now it is ready to be presented to your customers. You only have to place the widget once in your desired product template. When the product page is opened, all Looks which have marked this product as an entry point are displayed one below the other within the widget. If a product page is opened and no suitable Look is found, the widget remains empty.

1. Widget settings
Additionally you can create a heading within the widget setting. This headline is always displayed at the top for all possible Looks. It is therefore advisable to create a generic headline.
Also, you can display the Look within the widget in two different layouts: List and Grid.
Congratulations you have successfully added your first Look to the product page.