Create and manage
Learn how to create and manage Upgrades through the app's user interface in the Shopify Admin.
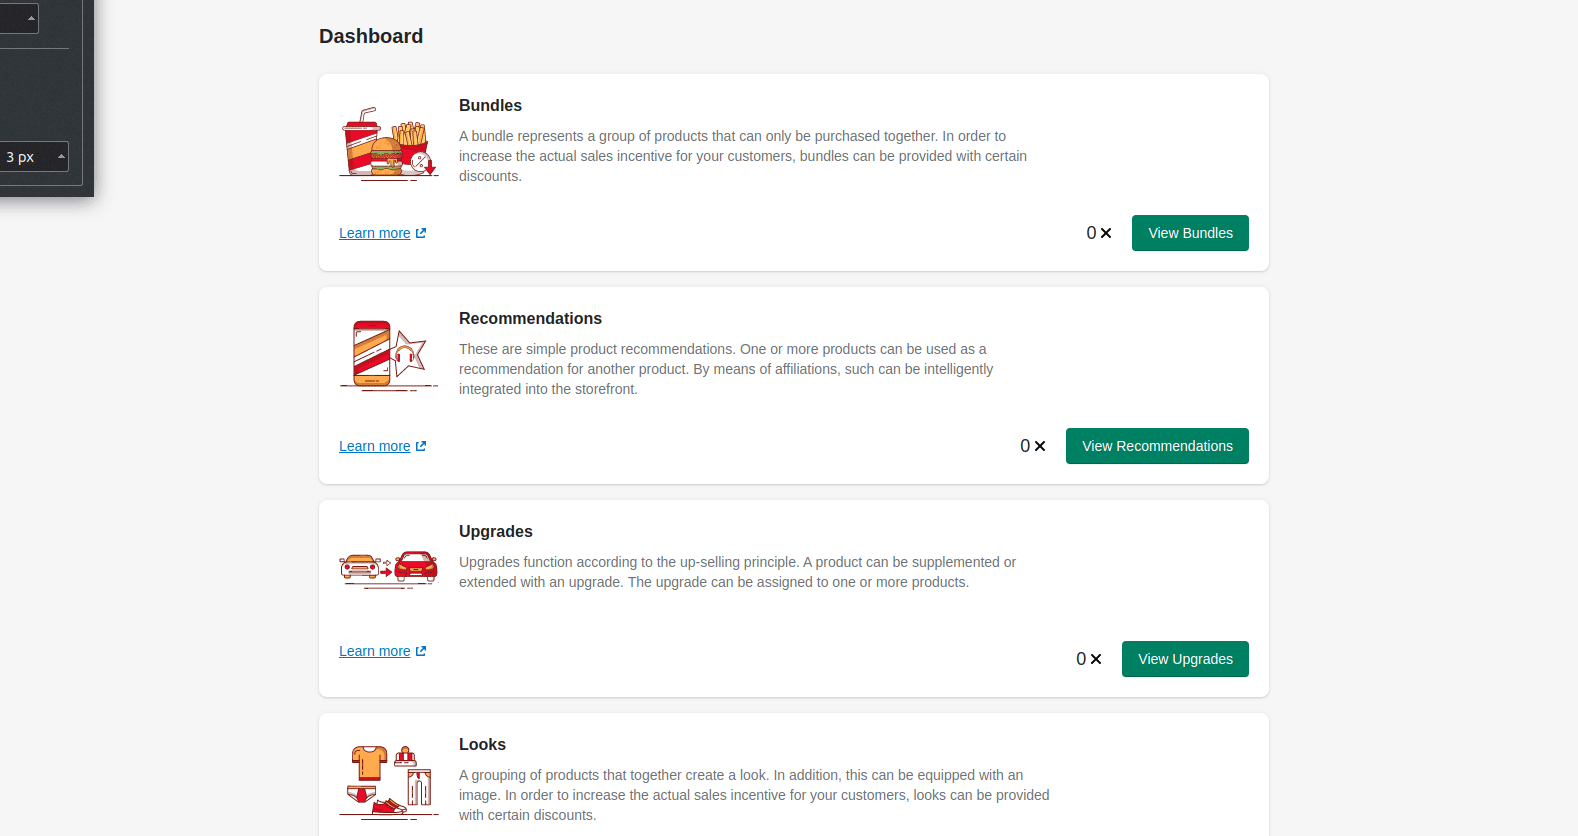
Open the Create Page
To create a Upgrade, open the Dashboard and click on View Upgrades. If you have not yet created a Upgrade, a placeholder is displayed here. Click on Add Upgrade to create your first Upgrade.
Create your Upgrade
To explain, let's create an Upgrade in the form of an extended warranty for a smartphone. Three sections are available for creating and editing a Upgrade:
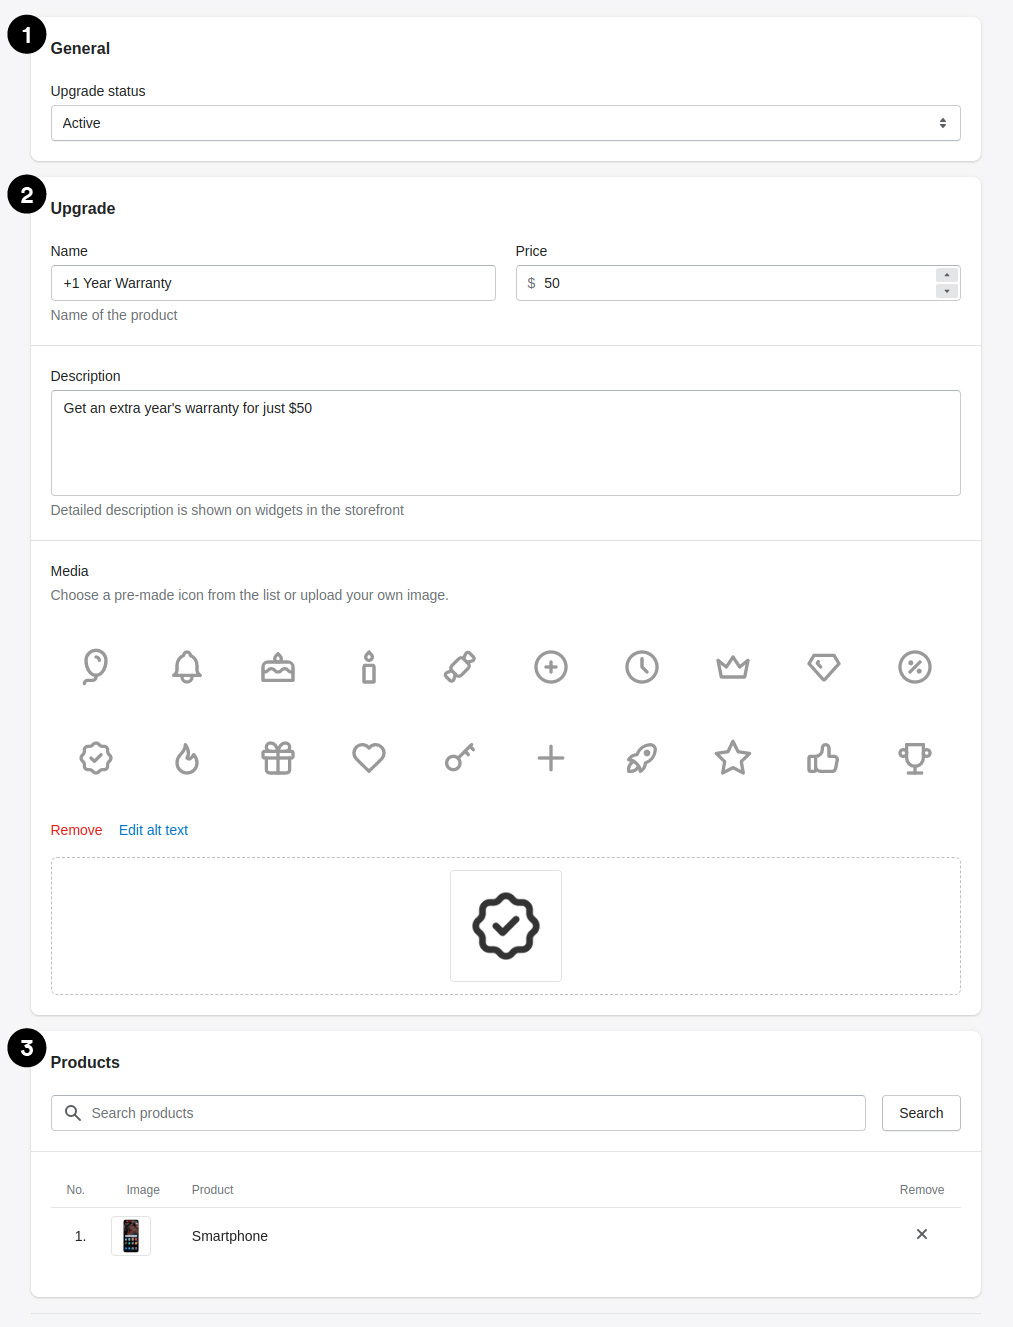
1. General
Within this section you can make general settings for the Upgrade.

1. Upgrade status
You can set the Upgrade to either Active or Paused status. Only active Upgrades are displayed within the storefront. Just note that the Upgrade product (2) itself that you create here does not take the status into account, as technically a Shopify product is created. The status only affects whether the Upgrade product is displayed in the widgets provided by the app.
2. Upgrade
Within this section you create the actual Upgrade which you can later assign to products in order to Upgrade them. Technically, a separate product is created in Shopify for this purpose. This product is highlighted by the flag upsail_generated within your product list in your Shopify admin.
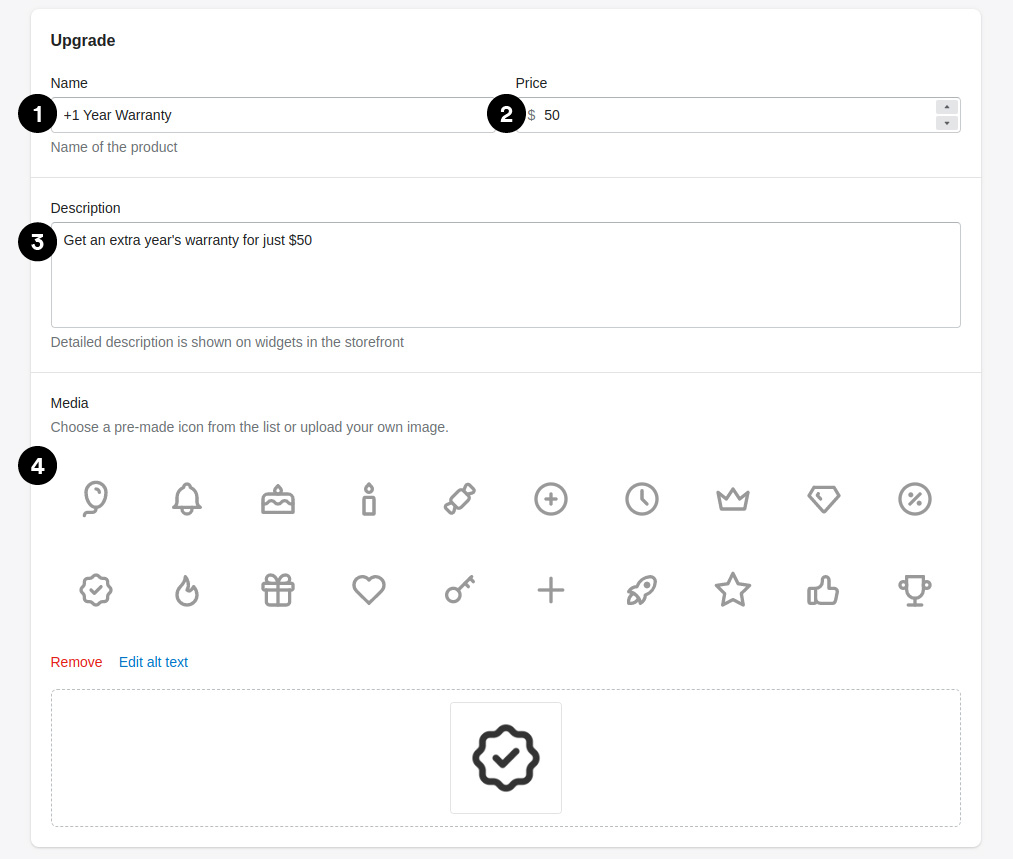
1. Name
Give the Upgrade a suitable name.
2. Price
Here you can add a price to the Upgrade.
3. Description
Add a short appropriate description for the Upgrade.
4. Media
Here you can create a suitable image for your Upgrade. You can either select an icon from the predefined list or upload your own image using the drag and drop field. In addition, you can create a suitable alt text for the image to optimise your SEO and make the image accessible for screen readers.
3. Products
Here you can assign the Upgrade to one or more products in order to be able to Upgrade these products.
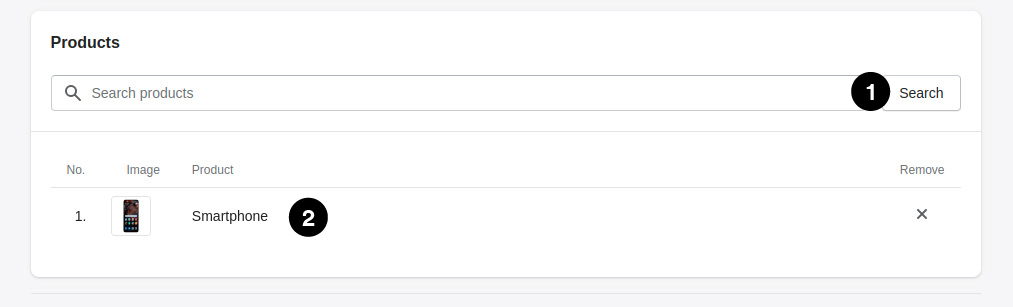
1. Assign products
Clicking on Search or entering data in the search field opens a pop-up from which you can select products and assign them to the Upgrade. Afterwards they will be displayed in the list.
2. Listed products
No you can see all assigned products inside the list.
When you are satisfied with your Upgrade you can save it. Congratulations, you have now successfully created your first Upgrade.
Listing Page
After you have successfully created your Upgrade you can now see it on the listing page. Here you can see the image and the name of the Upgrade all assigned products and the status.
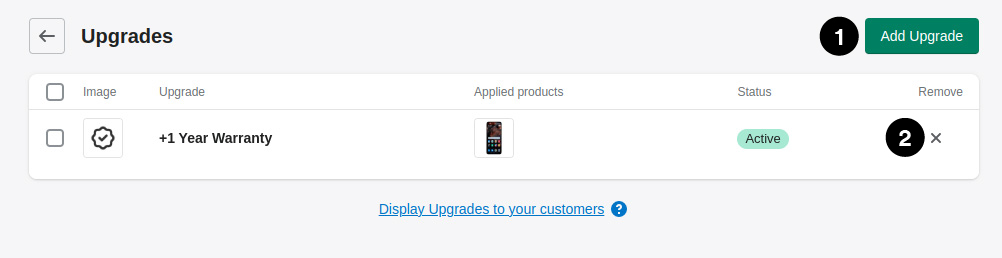
1. Add Upgrade
Here you can add more Upgrades.
2. Remove Upgrade
If you don't like the Upgrade anymore you can delete it here.
Now that you have created a Upgrade, in the next chapter we will show you how to place it inside your storefront through provided widgets using the Shopify Theme Editor. Then you can present it to your customers and start earning money with it.